Genisis

THE CONCEPT


As I sit wandering and browsing the infinite universe of the internet looking for ideas for this years' haunt I found some easy to follow DIY instructions for animated skeletons. Being how I just adore The Nightmare Before Christmas I have decided to go with that theme and create some animatronic characters to sing and move in my Halloween / Christmas animated light show. My goal is to create several of the characters in life size scale along with a few of the movie props as well. This blog will be a documentation of this journey to reality.


Tuesday, September 13, 2011

Here's Jack


Countdown Clock

This was my first paint job, wasn't happy with the lettering
 The countdown clock consists of plywood, reindeer motor, plexi glass, c-9 lights, green wired garland painted black, 1 string purple lights, and some pumpkins and skulls.


First step with the board was to place contact paper over the areas that needed to remain light in color.  Next have fun with black and brown spray paints until you reach your desired look.

After contact paper was removed.  I decided to cut out the day square because I had some plexi laying around to finish the look I wanted to achieve.

Here it is after the clock was mounted to the board and the plexi is in place with the c-9 light behind.  I found a free font for the Nightmare Before Christmas and was able to just print out the words and copied them from that.

Finished product.

Photos Zero's Progress


Zero after paper mache
I hacked a dollar store battery operated tea light for his nose

His nose is a bubbles bottle from the dollar store (4 for $1)

Add caption


Sunday, September 4, 2011

Its Been a Long Time

Sorry everyone I know it's been forever since I posted but this spring/summer was crazy hectic.  I spent over 6 weeks in Florida doing research at the different theme parks and feel like I can pull this off no problem.  I started on new Jack yesterday (I think this is the 3rd Jack head) so far I am quit pleased.  The armature is going well also.  Pictures will follow next weekend.

Friday, February 25, 2011

Time Flies

I realize it's been a little while since I posted and a lot has been going on.  First all the servos and the pcb parts I ordered came in.  I also made a paper mache "Jack" head though I don't like how it's turning out.  I have another idea to try for the "Jack" head and will experiment with it this weekend.  The pcb assembly is actually a little challenging I have picked up on a few tricks that may make it easier for other first timers.  I bought a card for my computer to convert my mini DV video to digital and will be installing and testing that today which means we will have video footage soon.  The treasure chest is turning out very nice I hope to have the mechanical part functioning this weekend then it's just aesthetics.  All in all I have been very busy with not much time for anything else.

Saturday, February 12, 2011

Ebay

You just gotta love Ebay at least for big dollar items.  I sold the dc servo motors that were traded to me that were for industrial use and immediately bought a Pickit 3 for programming PCBs.  I also bought about 20 rc servo motors today as well as some DMX servo controller PCBs.  My mouser and Digi Key orders should be here early this week.  I can't wait to start putting all this together.  Check the Treasure Chest again tomorrow as I have made progress and I also started on Jack's armature pics coming soon.  I am going to update the blog tonight and add a bunch of links.

Thursday, February 10, 2011

Ordered VSA

So, I sold a couple of DC motors on ebay that were traded to me.  I can't really use them because they require very expensive drivers as they are meant for industrial robotics.  Any who I was able to buy the VSA software today as well as all the goodies to make the audio servo driver.   Also, I went to the Depot today and bought a bunch of pvc to start making the armatures.  VSA said it takes up to 3 days to get the download data so in the mean time I will work on finishing the treasure chest and starting the Jack armature.

Friday, February 4, 2011

Treasure Chest

I took a break today from organizing and worked on the Treasure Chest.  I got this idea after finding some faceted lights out at the forklift place.  I am thinking I will install a Lynx Express inside the chest and hook 9 lights up individually to one each of the16 programmable dimming channels leaving 7 for something else I will go into at a later date (maybe a drunken pirate with a parrot).  I took some photos of the process to make a shelf for the "treasure" to sit on.  So in creating this it will give the illusion that the entire chest is filled with booty!     So here is the chest a nice rough old looking piece I picked up over a year ago for free.
 The latch has been bust off but I have the piece and as soon as I find my bolt cutter and cut the crappy lock off I will but it back on.
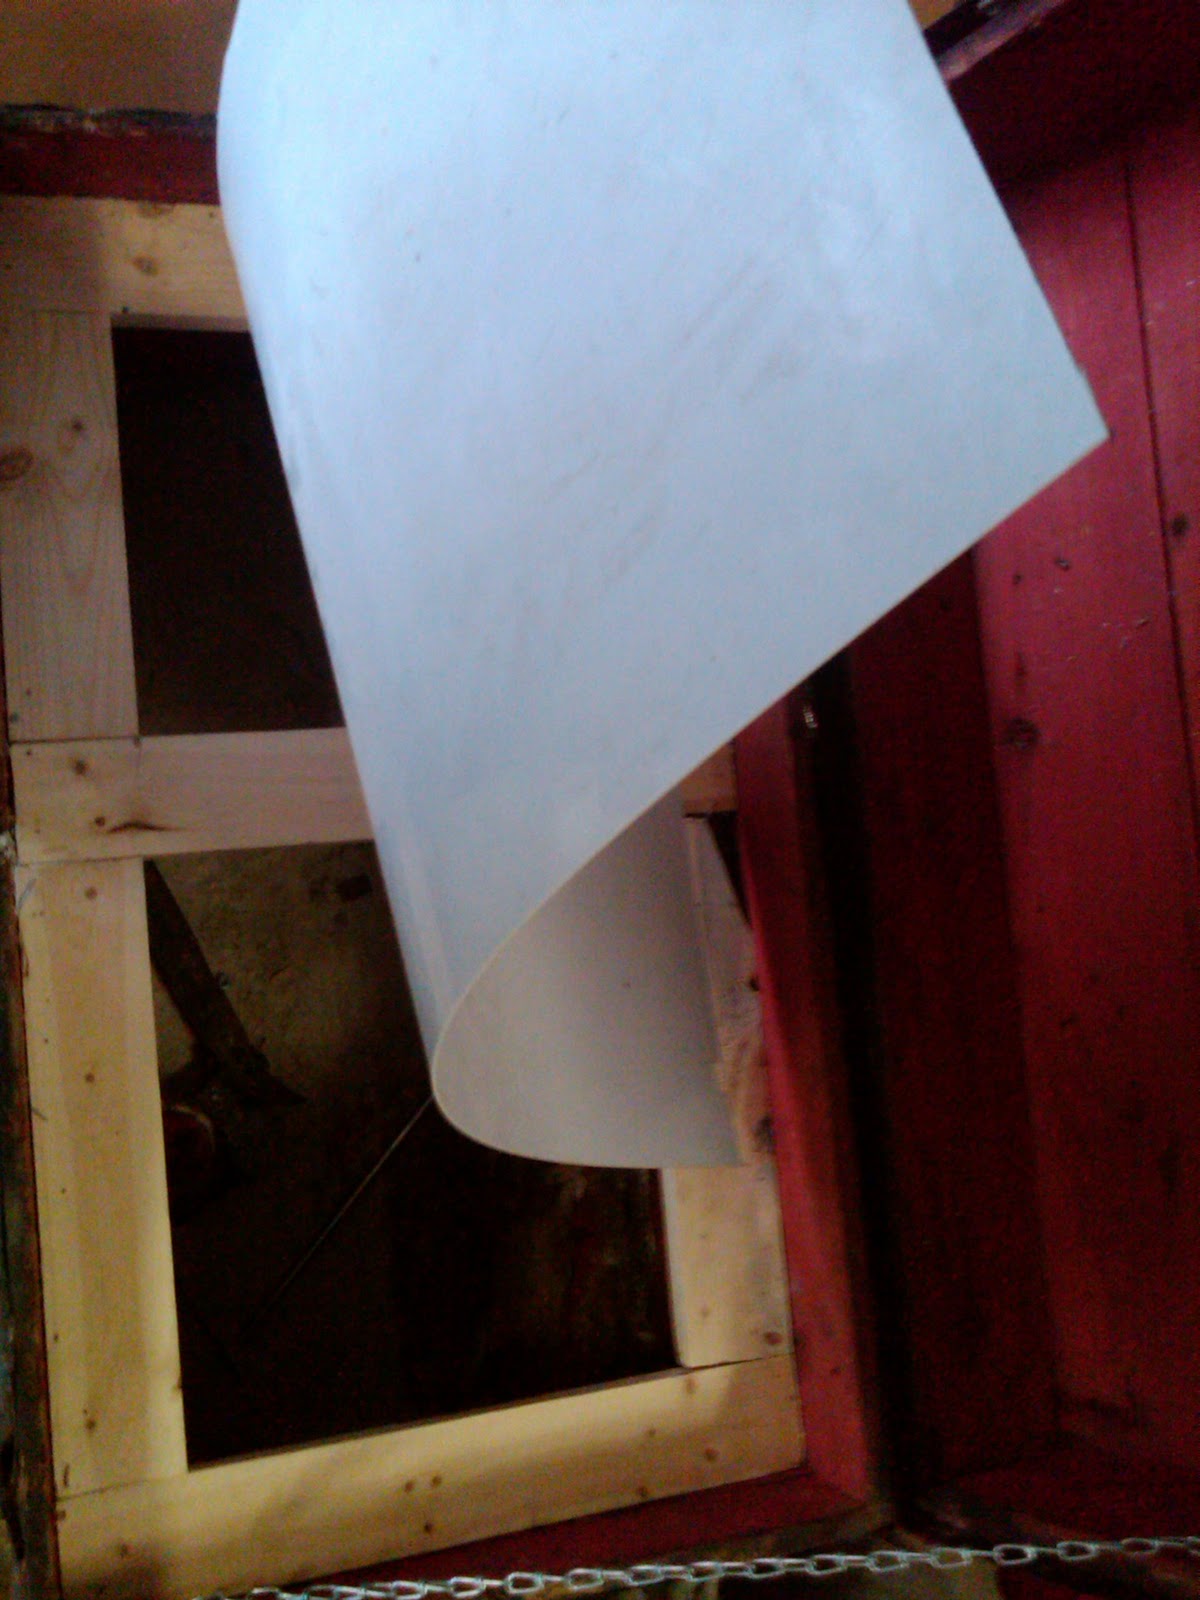
 In side as you can see on the right I installed a chain to hold the lid up when open.

 In the front and rear there were two horizontal wood pieces probably for a shelf at one point, I moved then further down to allow ample room.
 Next I took and cut and nailed some 1x4s to give more support

 Next I had a piece of paneling type wood and put that down.

 Because I want this to be able to sit outside in any weather I decided to also cove the top with a piece of plastic sheeting.
Actually I scrapped the sheeting idea.  Instead I used it as a template for size.
I took a piece of pvc and cut it at different angles and lengths to make a space for the lights to fit in. A couple were at severe angles and wouldn't stand on their own, I just taped them onto the plastic sheet.
Next, just start layering with spray foam.  I found out after doing this that the little straw makes it not as fluffy when it comes out.  For my second bottle the straw broke and I just put on a pair of gloves and did it like whipped cream.  It filled in alot better.


So this is where I am at.  Next, painting and decorating.

Oh Boy!

The new chip came today and of course I had to test her out.  This is flipping awesome!  I will start videos this weekend.

 On another note:  I am still sorting through the goodies from Eric lots and lots of goodies.

Tom came by today and dropped off all the pneumatics and electrical stuff I pulled from his place.  He has a large air compressor for me but it needs a new motor  5hp single phase about 3600 rpm, if anyone has one around. Oh and if anyone has shelving or bookcases I really need to organize the garage before my hubby gets to upset.

 Okay I am back to work.

Wednesday, February 2, 2011

Sold the Antique Radio

So I just sold the 1935 Bosch working radio on ebay for 150 plus 100 for shipping, off to go get a box and padding.  Shopping tonight!

Monday, January 31, 2011

Yes!

I took a breather today from sorting all the goodies I picked up yesterday and in doing so I came across a solution to what might have been a very expensive short cut.  Scary Terry is a circuit board designed to pick up audio and turn it into a signal to drive a servo motor.  They are tunable and built ones run about 40 bucks.  There are a couple of draw backs to using these versus actually programming the entire sequence.  First, and this is the biggie, you can only control one servo.  Also, you need multiple channel audio recordings because you have to pull only the vocal to input into the board.  It can't differentiate between vocals and music.  The great thing  about it is I won't have to program the vocals.  So what is this great and magical solution you might ask?  The schematics and parts list to make one myself.  I checked Mouser and Digi Key and I can pick up the parts and board for less than $20.  Now to buy, trade, and sell on CL so I can order one and try it out.  Oh yeah EBay too lots of stuff to list on EBay...................

Wednesday, January 26, 2011

Micro Controller

Well, the micro controller showed up today.  I wish the instructions were a bit clearer with pictures since if I fry this it's 20 bucks down the tube.  At least when I get this ball a rolling I will post simple pics so that others that didn't go to MIT can understand how to hook up this puppy.  Oh, and this will control 8 servos.  That's 8 little motors each doing a separate task and it's less than 1" x 1".  SWEET!
UPDATE:  I ordered the wrong one that's why it was so perplexing to me LOL new one will be here tomorrow then the fun begins.
 SCRAP
I am learning as I go and have found since I already use DMX with my lighting to just  build DMX servo controllers.  PCBs are on the way.

Monday, January 24, 2011

Pumpkins

 
Pumpkins How To:

 Materials:                                                                        Tools:
Punch Balloons from Dollar store                                      Scissors
Wallpaper paste                                                               Marker
Toilet paper                                                                      Blender
Masking Tape                                                                  Paint
Paper Towel cardboard tube                                            Paint Brush
Newspaper
Brown Paper
Jute string/twine
Monster Mud

1. Inflate balloon and secure it to a bowl with tape
2. Tears newspaper and brown paper into strips
3. Start to cover entire exposed balloon with brown paper dipped in paste
4. Alternate layers between newspaper and brown paper until there are 3 layers of brown.  Be sure to criss cross the strips to form a stronger shell. Allow to dry thoroughly. Remove from bowl/base.  Pop balloon.  Cut a piece of cardboard and secure to bottom.  Add brown paper layer to secure.  Allow to dry.
5. Cut a section on paper towel tube and tape to top on pumpkin for stalk.  Grab a section of newspaper and twist into vine shape and tape to hold shape.    Take the vine and secure inside of the stalk and cover with a layer of brown paper.  Next, cut a piece of twine and wrap around vine and secure with tape.
6. Draw on face - cut out.
7. Mix toilet paper and paste in blender until a clay like texture is created.
8. Form paper clay into ridges, lines, bumps, and blend in the stalk.
9.Add a finally layer of newspaper over entire pumpkin.
10. Coat inside and out with Monster Mud twice. (tinted with orange)

 11. Paint to preference.
12. Add LED eyes

Sunday, January 16, 2011

Cleaning the garage.

Almost finished.  Yaaaaa!  Came across a bunch more to trade like: 2 person tent, sleeping bags, camp stove, lantern, 3 nice boogie boards by body glove, t-ball bat, new cork dart board with nice darts, Sony receiver, and a few other misc items.  I will post yet another updated want/trade list tonight so keep an eye out.

Friday, January 14, 2011

Totally scored today!

I met this nice gentleman named Tom, who is closing down his forklift repair shop.  I spent an hour and half drooling over all the goodies I saw.  He sent me home with 3 new electric dishwasher motors and a bunch of small air cylinders and a solenoid manifold.  I am to go back on Monday and load up his truck.  While I was there I found a tent canopy frame like at flea markets.  He also has a bunch more of the manifolds, tons of air lines, motion detectors, wire out the gazoo, air filters and pressure regulators, pvc pipe, window motors, and soooooooo much more.  I am cleaning my garage this weekend to fit it all in.

I also picked up some great electronics from Jessica today.  I salvaged a computer power supply misc comp parts and a couple of small motors from an old cd player.  She gave me more I just haven't started tearing it apart. 

Brandon has offered to bring me all the pallets I could need. (for making coffins)

Last night I went to Tim's and picked up a drill press and a ton of misc. hardware and even a few Christmas items.


I just want to take this opportunity and thank everyone who is helping with this project!

Thursday, January 13, 2011

Craigslist

I have gotten a great response and at this rate may be able to start building this weekend!

Sunday, January 9, 2011

Jack

Now for Jack I have been lucky enough to have already found complete step by step instructions : Jack  So I will be following this as a guideline but also keep in mind he will be animated.  I stumbled across this exceptional example of an armature that I think I will use as a guide for Jack as I want him to be the most animated character.  I also found this example of animatronic hands that I will try and use.  This design will allow many motions and poses and should give him a life-like appearance.  I will start gathering supplies and see what I can get off of craigslist. Will post again when I am ready to start!

2-15-11
I have purchased the majority of things I need and I will start assembly this weekend.